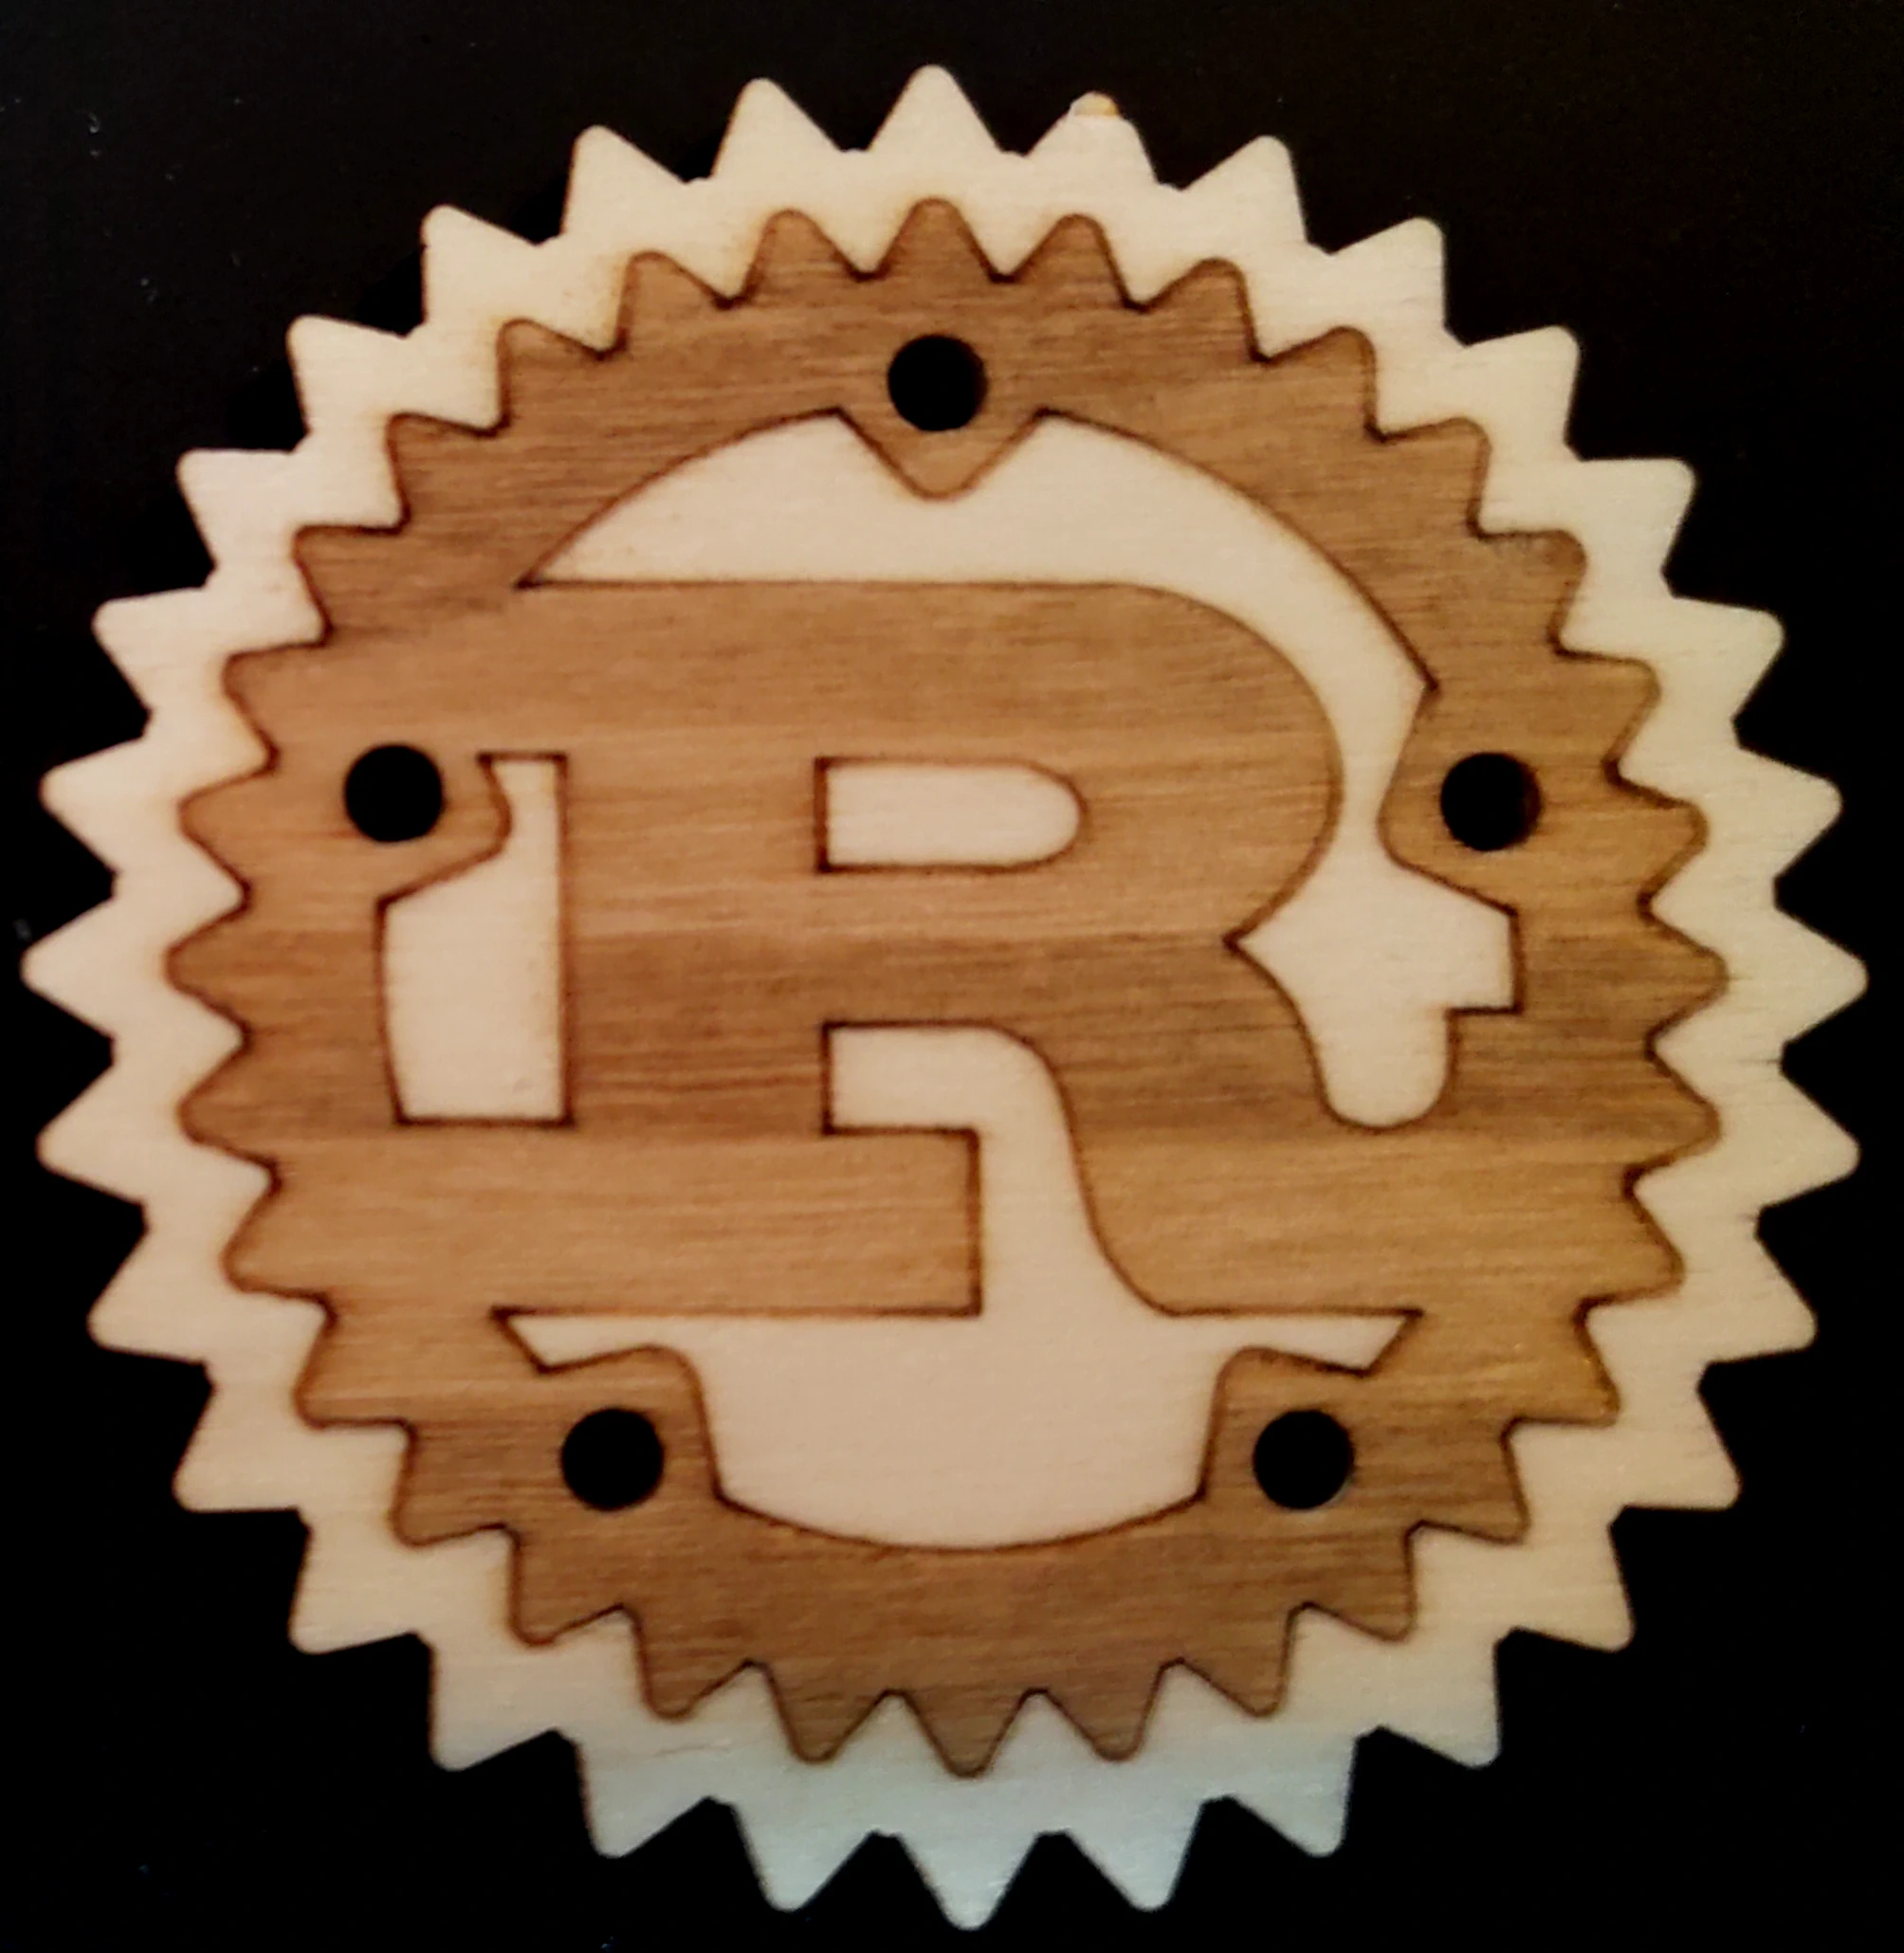
I did my first experiments with the new CNC CO₂ Laser.
![]()
After finding the right settings for engraving and cutting through plywood.
However, I had made a mistake with the order of the cuts:
- Light burn the lines
- Cut out the whole piece
- Lightly burning the filling colour
So after the second series of cuts the piece fell down and was a bit loose.
Why is this a problem? The cutter has three cooling systems:
- Water Cooling the CO₂ laser tube. This system must be active at all times otherwise the system would burn out within seconds.
- Air pump sucking out the exhaust gases from the cutting chamber.
- Air compressor blowing the exhaust gases away from the laser beam.
With the part being a test piece we decided to disable the compressor for parts of the fill parts. The remaining dust would block parts of the laser beam and the engraving would become lighter.
However, switching the compressor on and off during the lasering leads to a hanging dust cloud in the camber, which is not removed instantly and the lingering particles spread out leading to random areas receiving less laser light. You can see a light triangle shape in the top right part:
Also, the lens temperature increases if one uses more energy to cut through material and the compressor must be enabled during these procedures.
Cutting small Parts
Fun side effect: Cutting the small circles of the wheel gets very hot and one of the five cuts did set the cutout piece on fire. Not a problem because small pieces can fall through the grid and do not affect the finished cut out.
Coredump Blog Series
Over the coming months the laser cutter blog series will continue. Read the first two parts today:
- Lasercutter im Coredump, Teil 1: Intro
- Lasercutter im Coredump, Teil 2: Bestellung und Liefer-Odysee
Look out for the next part about how to operate the laser!
 Donate ♥
 Imprint
 Datenschutz
 Archive


